Car Camping Conversion - Part 1
Written By Louis Fernet-Leclair
Update: Part 2 and Part 3 are done!
I’m glad I started this long in advance because this took a really long time because I was making it up as I went. This conversion is pretty unique as far as I know because I have to contend with having a bike in there at all times. It’s also very long term ( 5+ months ) but allows for motels/hotels from time to time so don’t need a full bathroom setup with toilets and solar showers and all that jazz.
View fullsize
![So this is the space we have to work with.]()

So this is the space we have to work with.
View fullsize
![Got these car mats from the dollar store, along with velcro strips.]()

Got these car mats from the dollar store, along with velcro strips.
View fullsize
![Slap those on the back and glue them to the floor of vehicle.]()

Slap those on the back and glue them to the floor of vehicle.
View fullsize
![This is where the bike will be when not in use. Carpets to protect the car from dirt.]()

This is where the bike will be when not in use. Carpets to protect the car from dirt.
View fullsize
![I found a prebuilt bed platform on marketplace.]()

I found a prebuilt bed platform on marketplace.
View fullsize
![Saved me a lot of trouble, but it's a bit too long.]()

Saved me a lot of trouble, but it's a bit too long.
View fullsize
![I found someone on Marketplace to cut it and install hinges!]()

I found someone on Marketplace to cut it and install hinges!
View fullsize
![When I flip the hinge, the passenger seat can recline fully again.]()

When I flip the hinge, the passenger seat can recline fully again.
View fullsize
![Problem: The leg keeps falling in between the seats. This will damage the car and be annoying.]()

Problem: The leg keeps falling in between the seats. This will damage the car and be annoying.
View fullsize
![I screwed in this random shelf I had lying around. Success.]()

I screwed in this random shelf I had lying around. Success.
View fullsize
![I nailed some little felt pads to the platform so it doesn't wreck the car's floor.]()

I nailed some little felt pads to the platform so it doesn't wreck the car's floor.
View fullsize
![For good measure I wrapped these in duct tape so it wouldn't split ever.]()

For good measure I wrapped these in duct tape so it wouldn't split ever.
View fullsize
![Found this tablecloth to drape over the platform so there's less splinters/scratching.]()

Found this tablecloth to drape over the platform so there's less splinters/scratching.
View fullsize
![Just nailed it in, creating little staples.]()

Just nailed it in, creating little staples.
View fullsize
![Hopefully it protects.... something... from... something else.]()

Hopefully it protects.... something... from... something else.
View fullsize
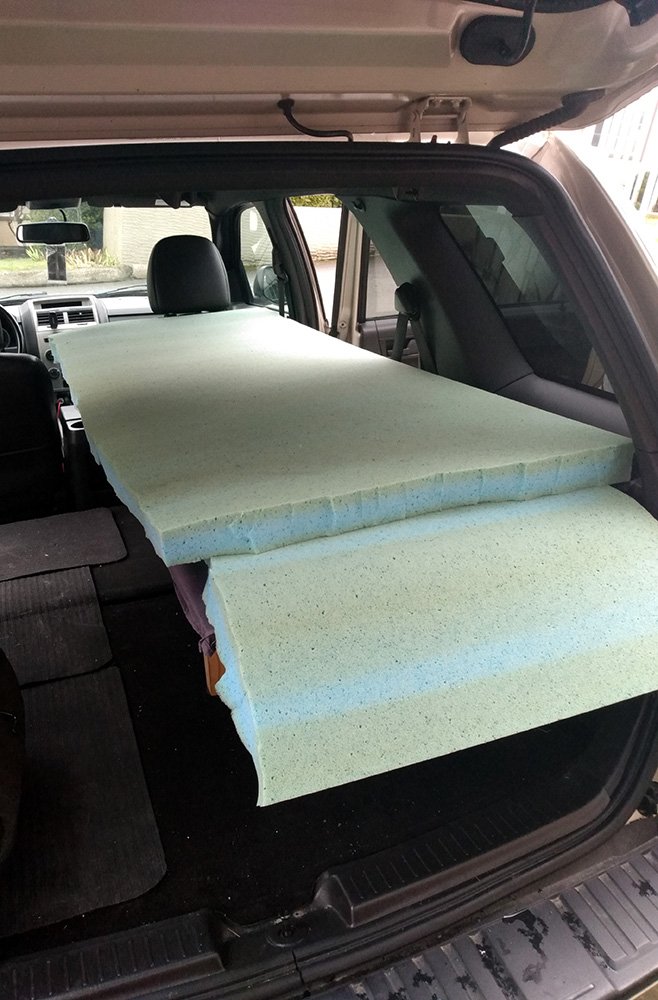
![Back to Marketplace where I got this big memory foam mattress.]()

Back to Marketplace where I got this big memory foam mattress.
View fullsize
![Cut it down to size and stacked it 2 layers high.]()

Cut it down to size and stacked it 2 layers high.
View fullsize
![Used foam because I can roll it back with the hinge, unlike a box spring mattress.]()

Used foam because I can roll it back with the hinge, unlike a box spring mattress.
View fullsize
![Found these little curtains that will save me lots of trouble in the next step...]()

Found these little curtains that will save me lots of trouble in the next step...
View fullsize
![They are easy to pop on/off to restore vision while you drive.]()

They are easy to pop on/off to restore vision while you drive.
View fullsize
![Then just get bedding stuff and you're done!]()

Then just get bedding stuff and you're done!
View fullsize
![What a good picture.]()

What a good picture.
View fullsize
![Next is making window blockers so people can't peek inside at night.]()

Next is making window blockers so people can't peek inside at night.
View fullsize
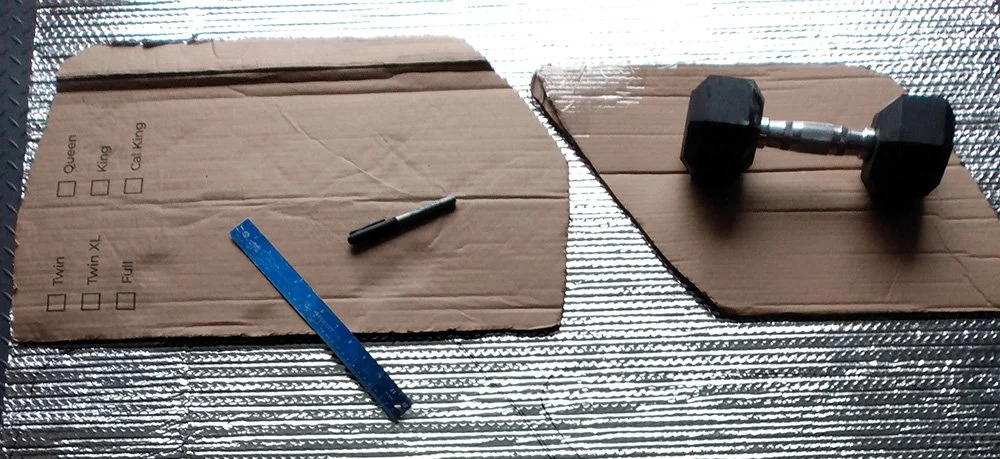
![Grabbed the huge cardboard box from the mattress to make rough templates.]()

Grabbed the huge cardboard box from the mattress to make rough templates.
View fullsize
![Try it over the windows and trim it until it fits nice and snug.]()

Try it over the windows and trim it until it fits nice and snug.
View fullsize
![Like this yes.]()

Like this yes.
View fullsize
![Templates done. Glad I got the curtain thing to save myself doing the front.]()

Templates done. Glad I got the curtain thing to save myself doing the front.
View fullsize
![Got a big roll of Reflectix from Amazon. This will insulate the windows nicely.]()

Got a big roll of Reflectix from Amazon. This will insulate the windows nicely.
View fullsize
![Trace your template onto the sheet.]()

Trace your template onto the sheet.
View fullsize
![Then cut out your pieces.]()

Then cut out your pieces.
View fullsize
![Get black spray paint and cover the side facing outward with it.]()

Get black spray paint and cover the side facing outward with it.
View fullsize
![I put two coats. Very time consuming.]()

I put two coats. Very time consuming.
View fullsize
![Got these strong magnets to stick the pads inside the windows.]()

Got these strong magnets to stick the pads inside the windows.
View fullsize
![Check in the car where there's metal around the windows and place the magnets.]()

Check in the car where there's metal around the windows and place the magnets.
View fullsize
![I taped them with their adhesive strips and packing tape, hope it's enough.]()

I taped them with their adhesive strips and packing tape, hope it's enough.
View fullsize
![Now cover each one with black fabric, so it's nice and opaque.]()

Now cover each one with black fabric, so it's nice and opaque.
View fullsize
![Staples weren't holding this so I just sewed the fabric on there.]()

Staples weren't holding this so I just sewed the fabric on there.
View fullsize
![Was too lazy to go back to the store to get all black thread. Like I said, making it up as I went...]()

Was too lazy to go back to the store to get all black thread. Like I said, making it up as I went...
View fullsize
![And there we go, done and hope it'll be worth it.]()

And there we go, done and hope it'll be worth it.
View fullsize
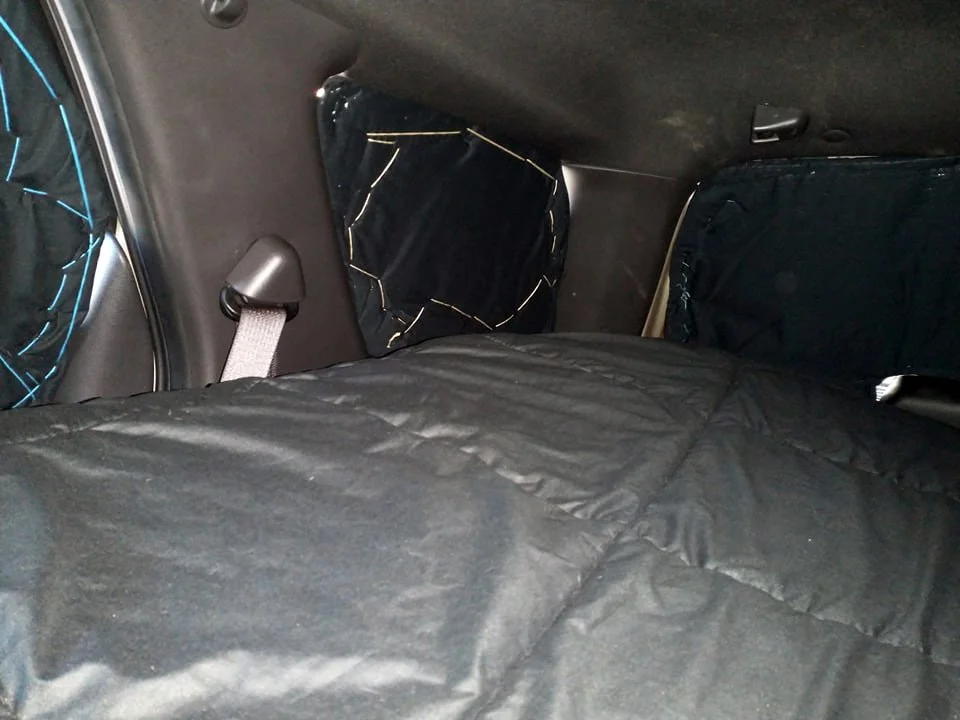
![The magnets work well and it's pretty dark in there. Good work me.]()

The magnets work well and it's pretty dark in there. Good work me.
View fullsize
![You absolutely cannot see inside when everything is closed.]()

You absolutely cannot see inside when everything is closed.
View fullsize
![Finally I measured the space and got large storage boxes that fit.]()

Finally I measured the space and got large storage boxes that fit.
View fullsize
![Took an inch off the legs so it'd fit flush with this box. Can always use an extra inch.]()

Took an inch off the legs so it'd fit flush with this box. Can always use an extra inch.
I think I won’t be able to get away from having a car box, having to put a bike in there really makes the space quite tight. The window blockers take up a lot of space by themselves.
In part 2 I will go over what I am bringing along!